Tuesday, March 4, 2014

The Artist on the Block - Block 2 & 3


The Artist on The Block take 2!

Meaning 2 more blocks to share with you!


I showed you the middle block of the three blocks that I won.
So today I will share with you the small block and the large block!

I am telling you...these are addicting!!!
I need more! I have so many ideas!

Okay here is the little one!
Front


I wanted this to look dimensional and vintage.
So I used paper that resembled mixed media, then added buttons and snaps.
 Side view- of course I had to use Distress inks and ruff that paper up.
 Top, side, front
 Back

On to my next block-I wanted it to look like a old beat up trunk.
I achieved that by using grunge paper, distress inks, and paints.
I used Tim Holtz Box Corners, which really makes it look like a old
trunk. I really beat up the grunge paper to give it that old worn look.
 I even made small handles
 Here are the two together
 I really like the way these turned out!
 I am telling you....the ideas running around in my mind are endless!
I must get these dies.
 Here are my 3 Artist on the Block creations. 
This is the next best thing to chocolate! Yes you read that right!

 I am hooked!

Thanks for stopping by.


Monday, March 3, 2014

Have you heard about The Artists on The Block?

It had it's big debut at CHA!
It is a Eileen Hull Design!

Well, I was lucky enough to win these 3 blocks and the Stencil Girl stencil. Some might say big deal!
I would tell them it is a BIG DEAL! You can create some pretty awesome things with just a block!
You need to visit The Artist on The Block blog and see what a block can do! Or shall I say, what you can do to a block!
You can also follow them on Facebook!


I am sharing the middle size block with you today!

This is what I made with my block. It is a music box and it plays "What A Wonderful World".  One of my all time favorite songs. I love the way this block turned out. I sure hope you share in the beauty of this block!


Front view
Here is a front/side view
This is another front/side view but the other side
View from the top


So see it is a BIG DEAL!

If you enjoyed this post, I will post tomorrow with the small and large blocks!

Monday, February 24, 2014

Making signs with Masks


I am having so much fun with these Hazel & Ruby masks!
I started a couple more signs.
I have repurposed some scraps of baseboard that were going into the garbage!
I see wood like this and always try to save it.
Some pieces were only 4" wide, but I can make something out of it.
Some had some really bad knots in them. Heck turn it over, sometimes it does not go all the way through.


So you can see the edges were a bit ruff, so I just sanded them down a bit. Took all of 4 or five minutes for all of my boards.
So my boards looked like this after I sanded them.


 Then I painted them. I swear the hardest part to using these masks is waiting for your paint to dry!

After your paint is dry, you can add mod podge over the top of your paint and wait for it to dry.
Then add your letters. Although on this sign, I have to say I skipped the mod podge and just stuck the letters on. But I would not do that if I was using a paper background or the surface is uneven.

You can enlarge the picture by clicking on it.
Here it is all done. I used the back of the boards, the fronts had some pretty good knots in them.
But I love the look of the grooves on the back of the boards!
For the polka dots I used a cap and just dabbed the cap in the paint and then just
pressed it onto the board. They turned out perfect.
Then when both were all dry, I took a sanding block and lightly sanded both of the signs.
 I like how the color underneath shows. Gives it a worn look.


 While I was at it I did this little sign out of one of the smaller pieces of board. Notice I used the front of
of the board for this sign and it also looks Great!


 So just a few more projects with Hazel & Ruby Masks.

Just so you know.....I have NOT been paid for this advertisement! I just LOVE them!

Now if you would like to go and see what Hazel & Ruby have available go check it out
Click on the link here.

Thanks for stopping by!


Friday, February 21, 2014

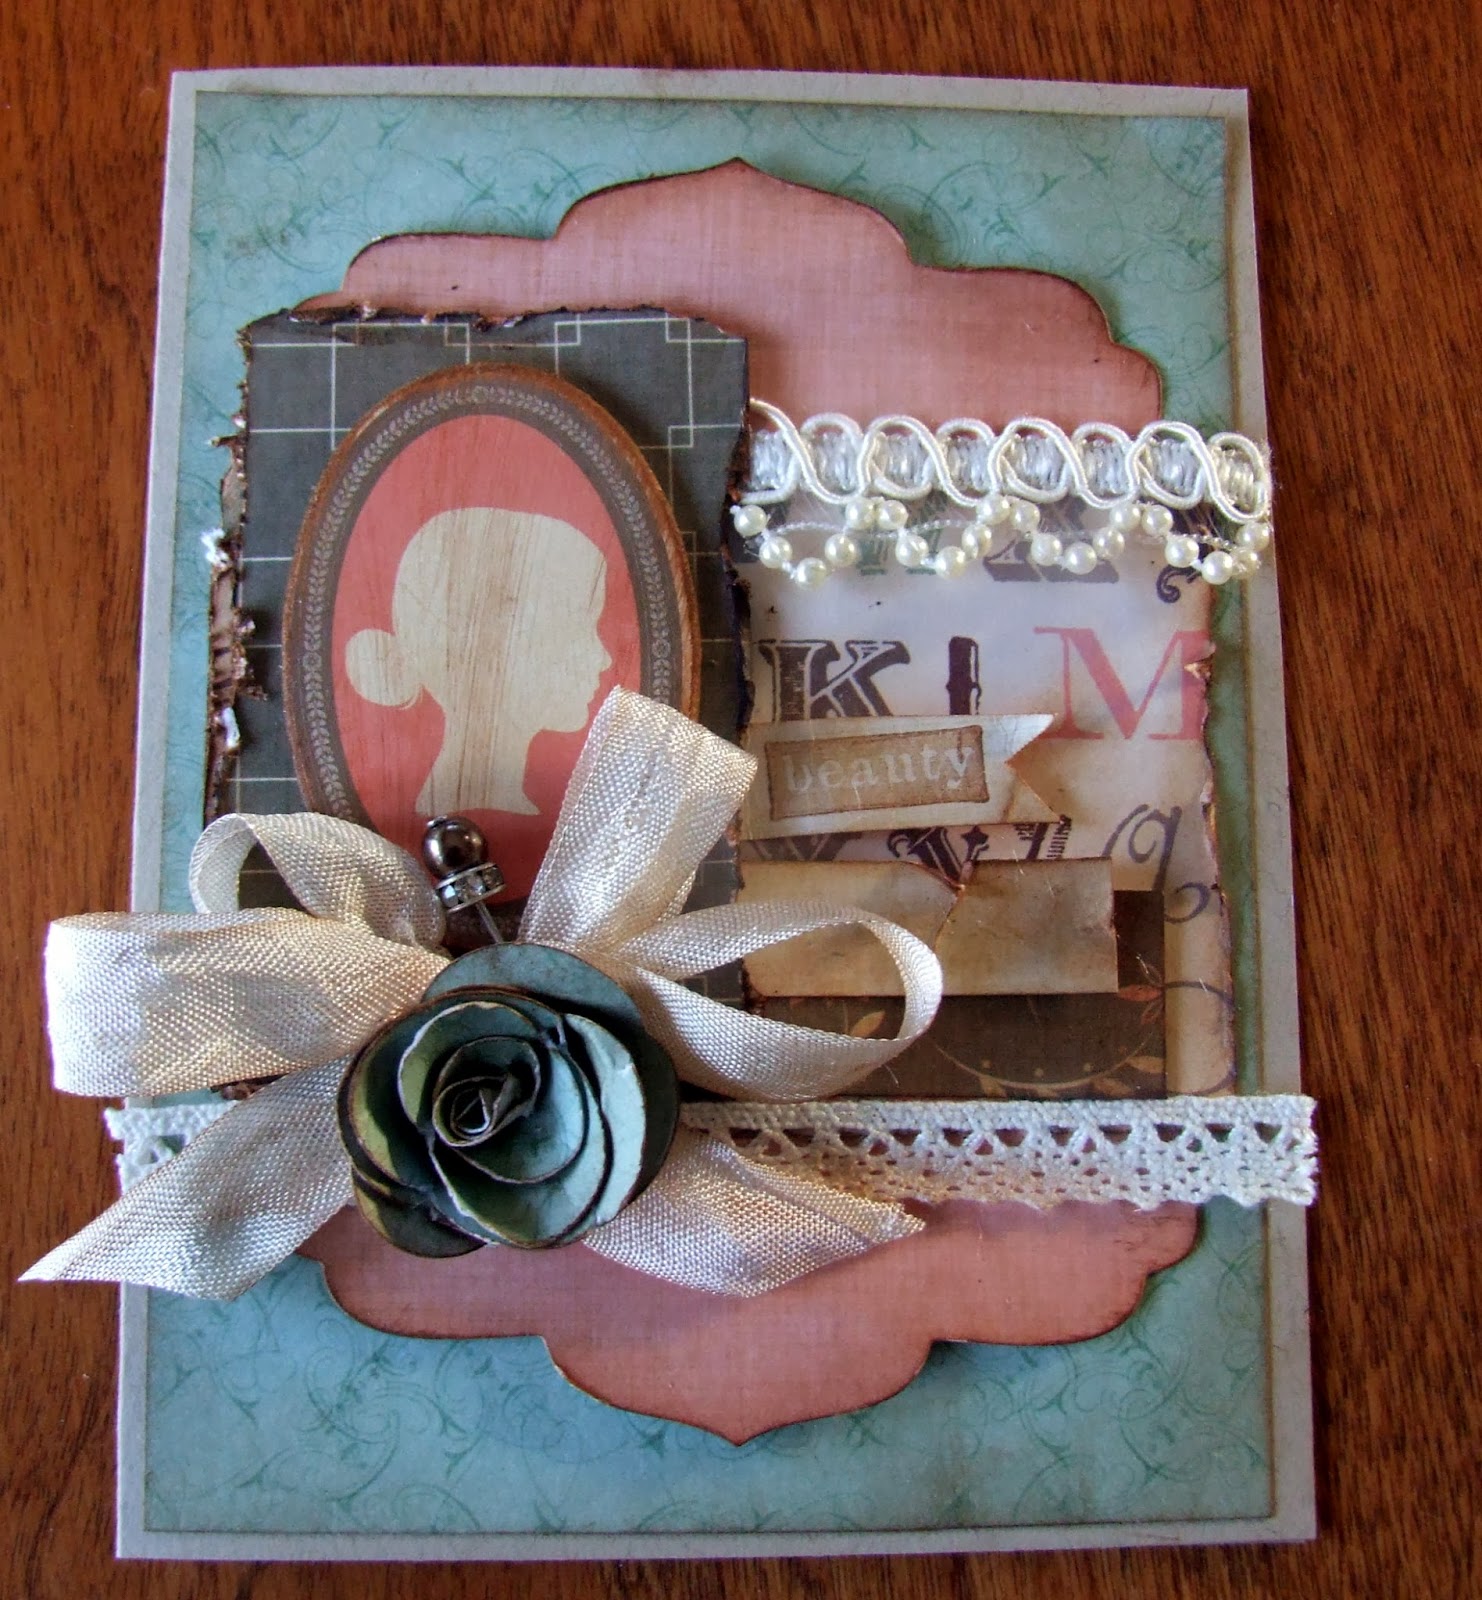
Simon Says "A Cameo Appearance"

This is my entry for Simon Says Stamp-Monday Challenge

A Cameo Appearance

I used Cosmo Cricket papers to adorn my card.
I wanted my card to have a vintage feel to it.
I used Distress inks to help me achieve the vintage feel, along with some lace 
and a homemade rose. The cameo is chipboard.

 See all the layers............
 I love the way this card turned out!
Thanks Simon Says Stamp for the Challenge.
I had fun!

Thursday, February 20, 2014

Stencil Masks by Hazel & Ruby

 Have you been to Hazel & Ruby's?

If not, your missing out!
Click on the picture and it will take you to all you need to know!
This is a new company that is going places! They have fun new innovative ideas when it comes to crafting!
They have Washi tapes in wide, great for wrapping gifts. Oh the place you could go with their products.

 Here are the amazing stencil masks! I love them.
Easy peasy subway art! Fun little signs. Oh the possibilities!


Here is a Coffee sign that I made using the Stencil Mask!
You can make it simple or add more as I did here!


This is a board I made for my Sister! 
I love how easy it was to do.

 And I love the way it turned out!

Isn't this just the cutest? So fun for the winter months!
Well thanks for stopping by! I am off to make some Easter signs with the stencil masks!

Sunday, February 9, 2014

12 Tags of 2014 - February

It's time that I add my tag into the ring. I did not have Tim's heart stencil, so I had to think 
outside of the box and I made one. But I also used two other stencils.
See Tim's Challenge HERE!

Here is my home made stencil. Not Tim's but it worked.

Here are the three together after they had been colored and embossed.
Here are my tags. Each one a bit different, but with the same technique.


 I use Tim's Christmas papers as the heart and bottom. I did not have any of his industrial stickers. But I did use his Dies to make the bottom of two of the tags. I did not have his Red Glitter so I just used the distress glitter rock candy. It all works in the end. So here are my little over achiever tags.
I hope you like them. I had fun making them!

 Thanks for stopping by!


Friday, February 7, 2014

Love Notes

Challenge at Simon Says Stamp is: LOVE Notes!

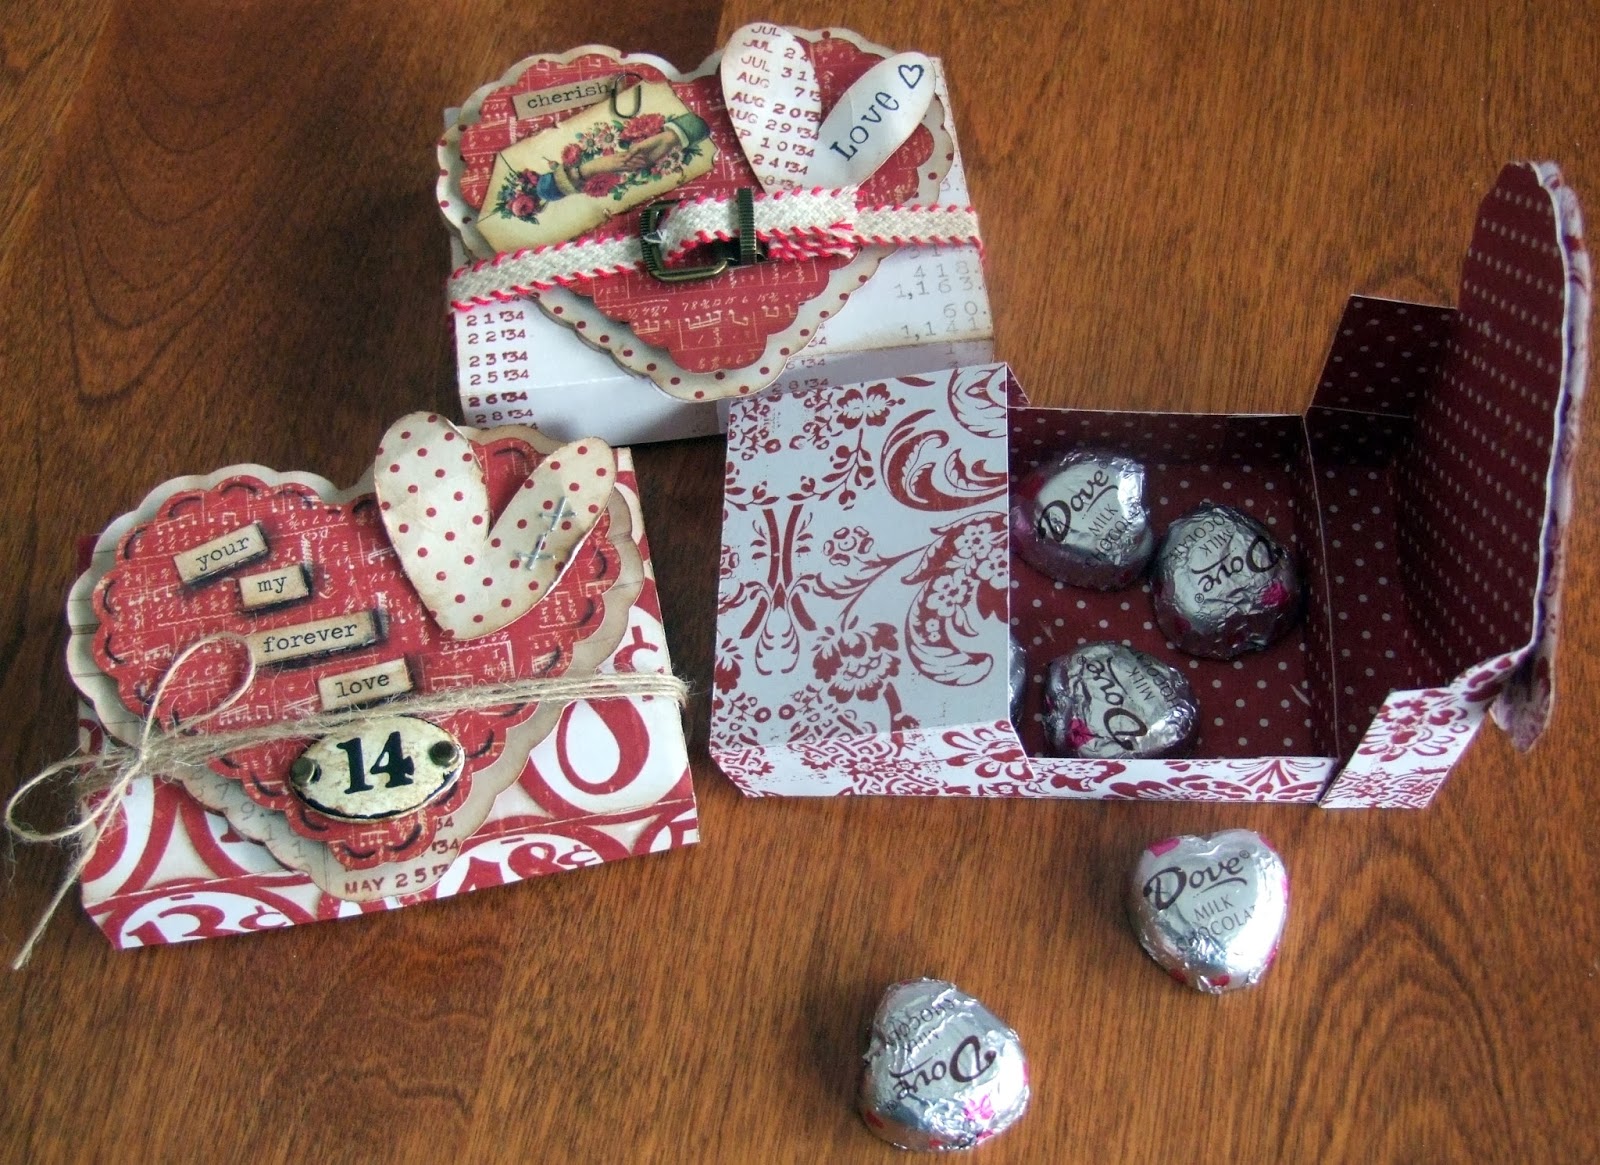
I used Tim Holtz's Christmas paper Paper Stash Merriment and used it for Valentine Boxes!

I thought these papers were great for Valentine's.
I ruffed them up a bit and added some cute touches to each of the boxes.
 One I tied twine to hold the box closed. Next one I made a belly band. The third one I used some of Tim's Naturals Red & Cream with a buckle to hold it closed. Little Chit Chat Stickers.
 In this picture I removed the band that went around the box
 In this picture you can see the box open with chocolates!
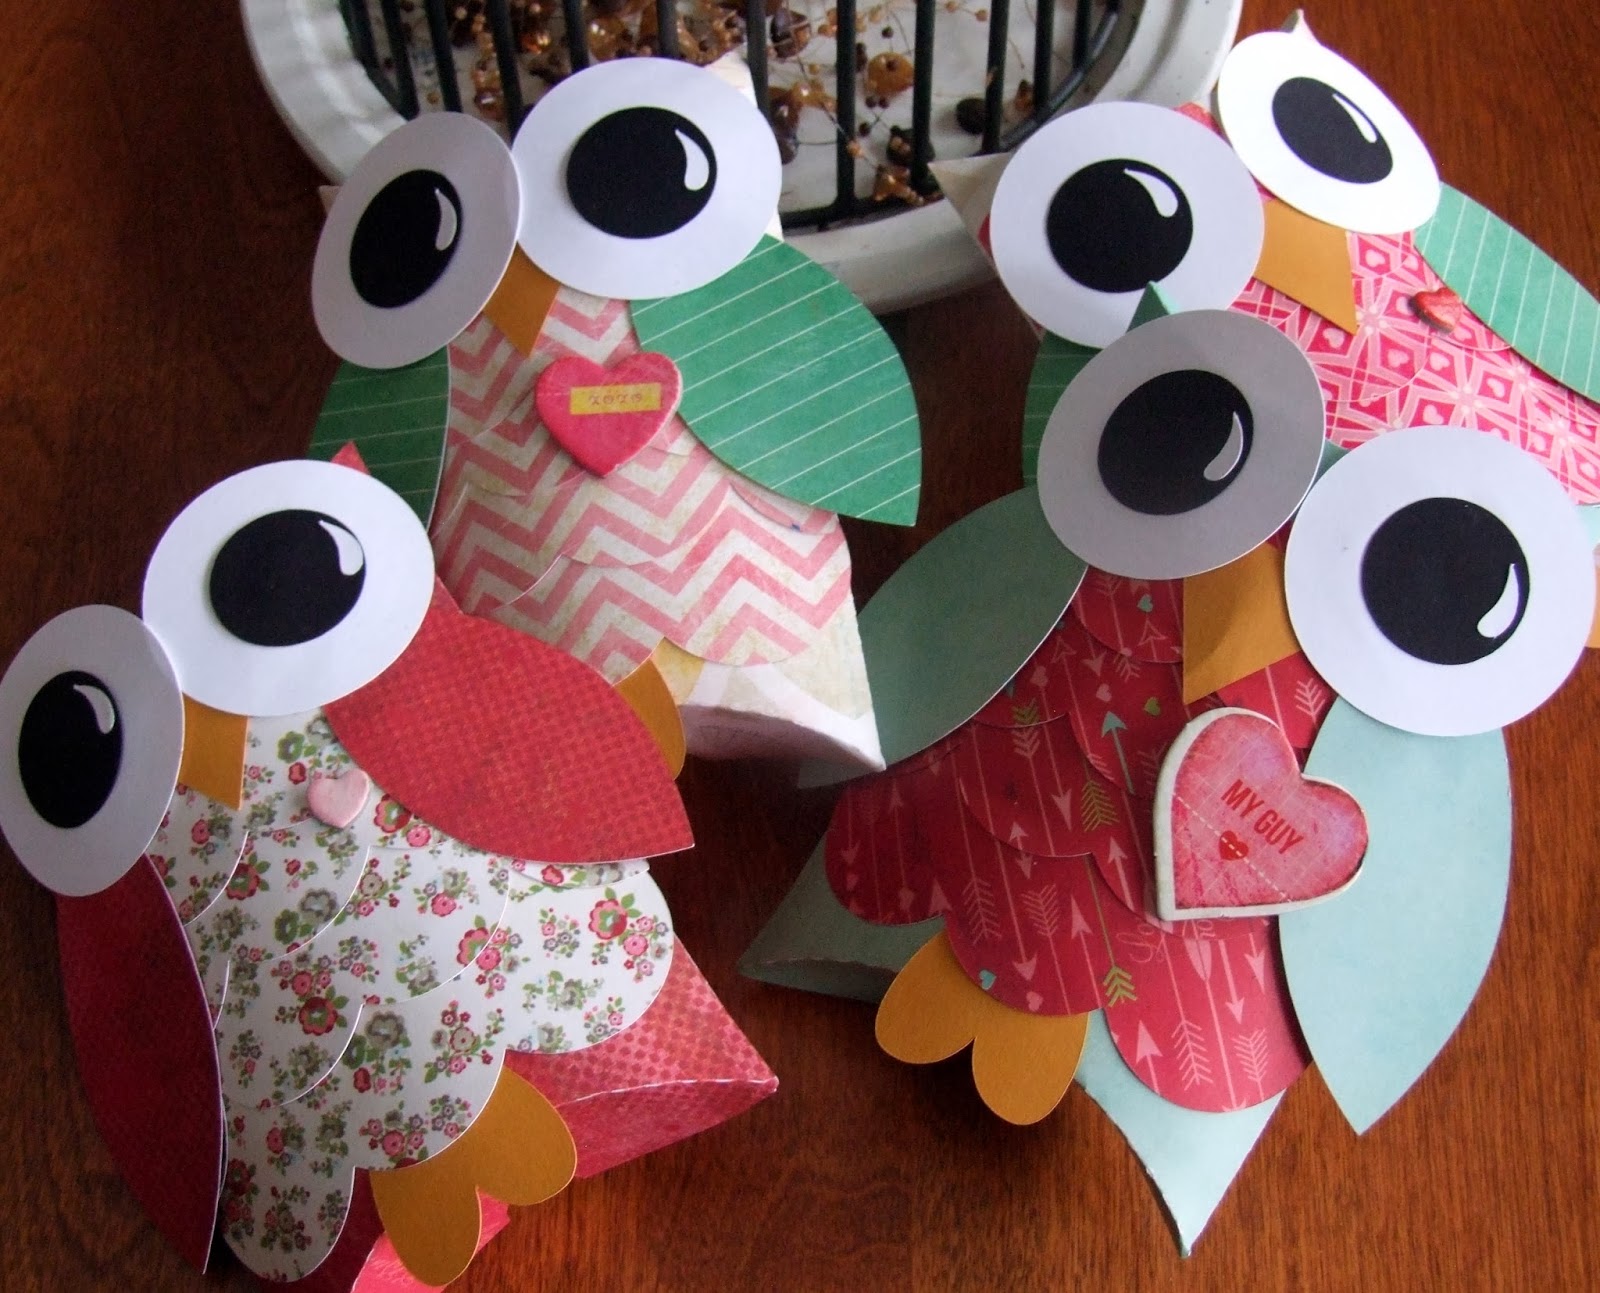
 I also had to make some pillow box owls for some of my favorite kids!
 I can fill these with boxes of heart candy and some chocolates and a little money!
 Here are just few more views.

Why not join in on the Challenge at Simon Says Stamp, WOO knows maybe you will win!

Thanks for stopping by!